
System Requirements
- Processor
- Minimum: Intel i5
- Recommended: Intel i7
- Screen resolution
- Minimum: 1440x900
- Recommended: 1920x1080
- Scale: 100%
- Memory
- Minimum: 4 GB RAM
- Graphic card
- With OpenGL 3D support (NVidia chip cards recommended)
- Operating System
- Microsoft Windows 7 SP_1 / 8 / 10 / 11
- 32 or 64 Bits compatible (64 Bits recommended)
Installation structure
- Fikus ST 23 floder structure:
C: \Metalcam\Fikus Visualcam 23\
bin\ bmp\ cfg\
cimatron\ dat\ extfun\
fonts\ inc\ info\
languages\ Machines\ Macros\
manuals\ post\ SolidWorks\
tools\ vis\ wizards\
C: \Fikus Files\Sample_Files
C: \Users\'USER'\AppData\Roaming\MetalCAM\Fikus23\
Cfg\* Macros\* MultiProc\*
ReportUse\* tmp\* vis\*
C:\ ProgramData\MetalCAM\Fikus23\
Cfg\* dat\* MultiProc\*
psw\* vis\*
C:\ ProgramData\MetalCAM\Wizards\DB_V1
MetalcamDB\*UserDb\* - The products’ name & path (C:\Metalcam\FikusVisualcam 23) are a default and can be changed.
- During installation, the user can change the location of Fikus Files, which is the default folder for user and sample files.
- The folders marked with * are created the first time that Fikus is run.
Installation scenarios
There are several possible installation scenarios:
- A.- Install Fikus 23 on a clean PC (New installation).
- B.- Install Fikus 23 in parallel (SBS20) to Fikus 20 (additional installation).
- C.- Install Fikus 23 over a previous Fikus 20 on the same location (Upgrade).
- D.- Modify, repair or remove the installation of Fikus ST 23.
When a new version is released, Metalcam will assign a new internal ID to the installation process. According to this ID, the options displayed during the installation process may vary (allowing or not to make an additional installation on a PC with a previous version installed).
Keeping user settings from previous version
Data Files installed by Fikus and Modified by the user and User-generated Files
| File name | Location | User action |
| c2fcfg.dat | Users\ 'USER'\ AppData\ MetalCAM\ Fikus\ dat | SBS20: Copy files from existing version UPD: Keep existing files SBS23: Copy existing version files |
| ToolManager.mdb Techpoints.cfg |
ProgramData\ MetalCAM\ Fikus23\cfg | SBS20: Copy files from existing version UPD: Keep existing files SBS23: Copy existing version files |
| ficedw.ini Fwisohh.cfg Drills.xml Wizardtaladros.ini LatheWizard.ini Shrtcts.cfg |
Users\ 'USER'\ AppData\ Roaming\ MetalCAM\ Fikus23\ cfg | SBS20: Copy files from existing version UPD: Keep existing files SBS23: Copy existing version files |
| fikusw.ini CFGedit.ini Fixgeometry.ini fpostp.ini FWIsoHH.ini Toolbar.ini Gear.ini Lathegeo.ini Toolmanager.ini LatheZones.ini Mac2asc.ini Simulator.ini Texto.ini wizardXXX.ini(*.ini) |
Users\ 'USER'\ AppData\ Roaming\ MetalCAM\ Fikus23\ cfg | SBS20: No action UPD: Keep existing files SBS23: Copy existing version files |
| *.psw | ProgramData\ MetalCAM\ Fikus23\ psw | SBS20: Copy files from existing version (except fikusw.psw) UPD: Keep existing files SBS23: Copy existing version files |
| *.UVV | ProgramData\ MetalCAM\ Fikus23\ vis\ uvv | SBS20: No action UPD: Keep existing files SBS23: Copy existing version files |
| *.UTD | ProgramData\ MetalCAM\ Fikus23\ vis\ utd | SBS20: Copy files from existing version UPD: Keep existing files SBS23: Copy existing version files |
| *.MP | ProgramData\ MetalCAM\ Fikus23\ MultiProc | SBS20: Copy files from existing version UPD: Keep existing files SBS23: Copy existing version files |
| *.VIS | ProgramData\ MetalCAM\ Fikus23\ MultiProc | SBS20: Copy files from existing version UPD: Keep existing files SBS23: Copy existing version files |
Installation procedure
- Prepare your computer for installation, as follows:
- Close all other applications.
- Make sure that you have at least 2 Gb free on the disk where your Windows is installed (even if you are installing Fikus ST 23 on another disk).
- Insert the installation DVD or USB-Drive
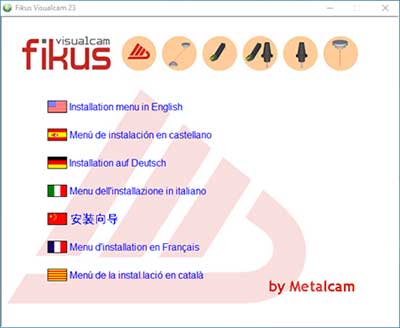
- The Fikus ST 23 installation menu (Autorun) is displayed, otherwise, run metalcam.exe from the disk, as a user with administrator rights.
- Select the desired Installation menu language.
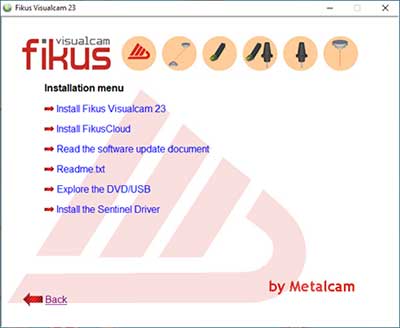
- Select Install Fikus ST 23.
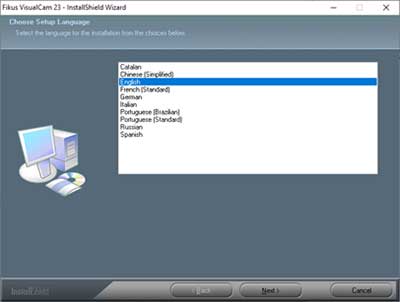
- Select the language for the Fikus program from the drop-down menu and click Next.
- Now, depending on the Internal ID (explained before), the process may vary.
- For the installation of scenarios a), b) and c), skip to step 9.
- For the installation of scenario d), a selection form will be displayed, as explained in step 8.
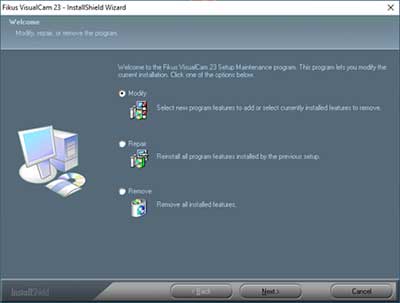
- Installation type window. Select the desired installation type and click Next.
- The Welcome window will be displayed. Click Next.

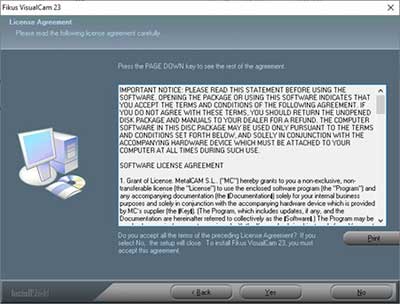
- The terms of the License Agreement will appear. Read it carefully and accept it to continue with the installation.
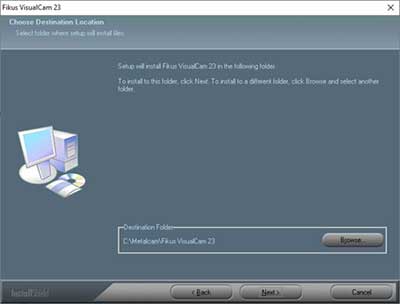
- Select the folder where the files will be installed.
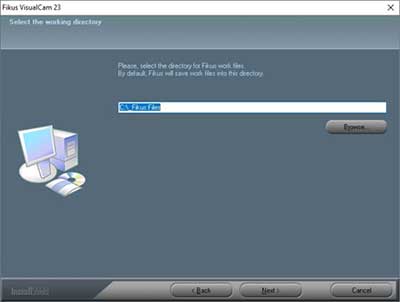
- Select the working directory and press Next.
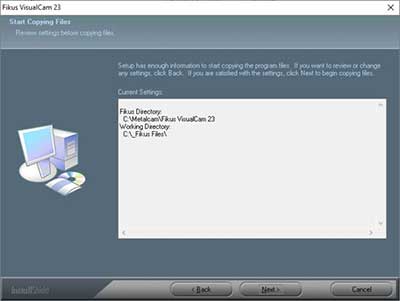
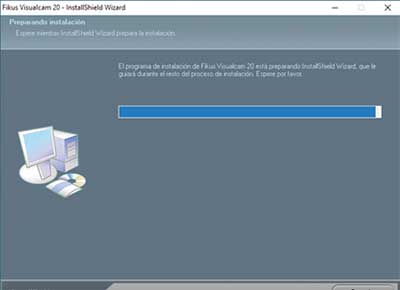
- Click Next. The components will start to be installed in the Start Copy Files window.
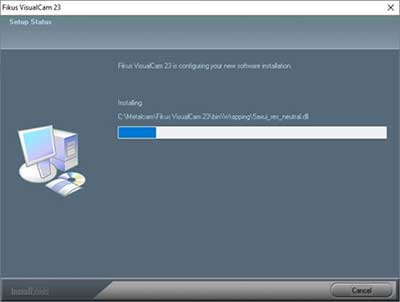
- Fikus starts installing files.
- Insert the Fikus protection dongle into the USB port.
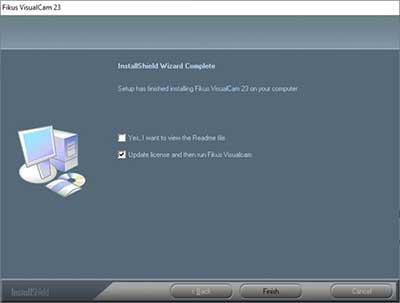
- When the installation is finished, we recommend reading the Readme.txt file. Select OK to exit the installation program.
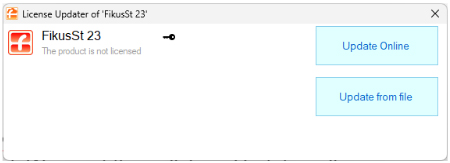
- The Fikus ST license updater will appear on the screen and inform you that the product is not licensed. We must then click on Update online.
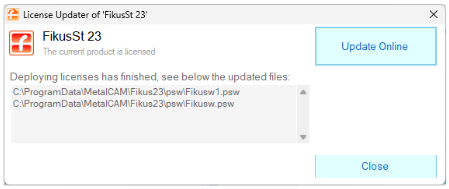
Automatically download the license from the internet and click Close.
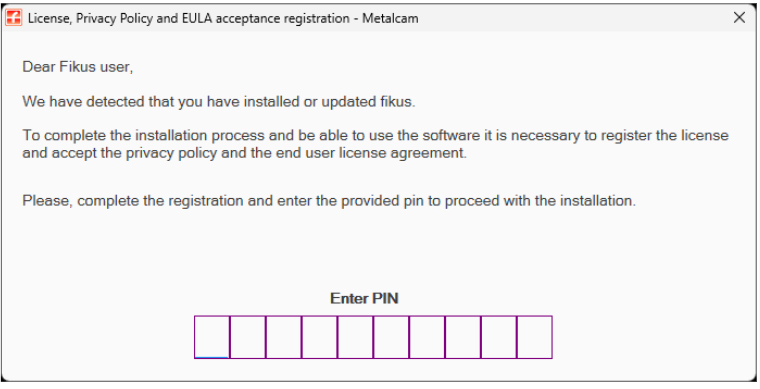
- The release has an intermediate security simple step where the user needs to accept the register, privacy policy, and EULA.
- Then, Fikus ST will start running automatically.
The Fikus Welcome dialog will be displayed and the installation will start.
If you have selected the Modify option, the last installation of Fikus ST 23 will be modified (installation / uninstallation manuals, application and demo version).
With the Repair option, Fikus ST 23 will be reinstalled on top of the previous version.
If Uninstall is selected, Fikus ST 23 will be uninstalled.
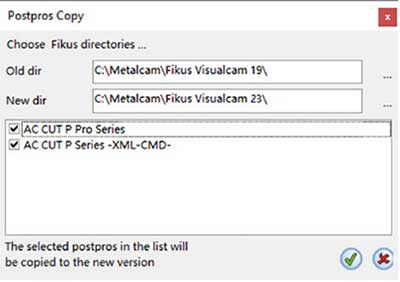
When the installation finishes copying all the files, the following window will appear (only if the installation detects a previous version of Fikus installed). Select only the postprocessors you want to copy from the previous version of Fikus (Old dir) to the newly installed version (New dir).
(Press the right mouse button to display the selection submenu - select all, deselect all, invert selection).
In the case of a user's computer with No Internet connection, a different dialogue will appear. The user should scan the QR Code using a Smart Mobile Phone and complete the registration to proceed with the installation.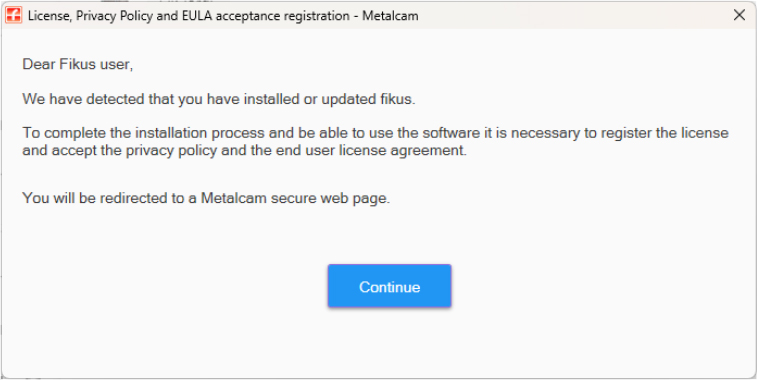
Once you select Continue. It leads to the page where you need to fill in the information.
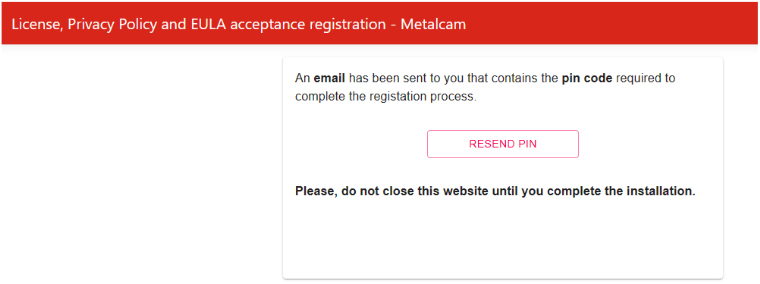
Once you Accept, you will receive the mail.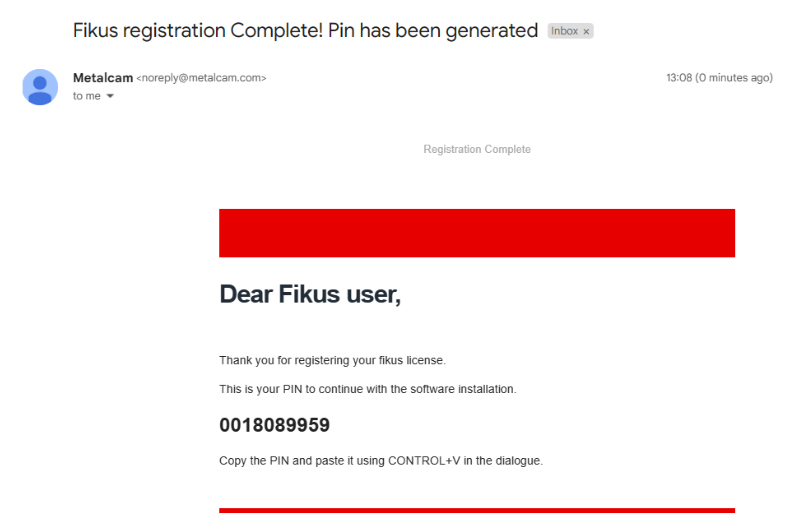
You can copy the PIN and paste it using CONTROL+V in the dialogue.
Note:
In the case of user's computers with No Internet connection, a different dialogue will appear. The user should scan the QR Code using a Smart Mobile Phone and complete the registration to proceed with the installation.